How to Choose the Right Camera Stabilizer?
Choosing the right Camera Stabilizer can transform shaky footage into smooth, watchable storytelling. Yet the best choice depends on more than a product’s weight rating or advertised features. Your camera body, lens, shooting style, and working environment all affect performance.
In practical use, a stabilizer should feel balanced before it feels impressive. A heavy rig may look professional, but it can become exhausting during a long wedding ceremony or outdoor interview. A compact model may work beautifully with a mirrorless camera, yet struggle when a larger lens is attached. I have learned that small setup details matter, especially when adjusting follow focus systems, cages, microphones, or external monitors.
That mistake still matters.
Reliable selection also requires checking payload limits, handle comfort, adjustment controls, battery life, and stabilization modes. Electronic gimbals need calibration and firmware support. Manual stabilizers demand more physical technique, but they can remain dependable when batteries fail. Neither design is automatically superior. The right option is the one that matches your equipment and habits.
This guide compares key stabilizer types through practical criteria rather than marketing claims. It considers real shooting conditions, including narrow interiors, uneven paths, crowded events, and extended handheld sessions. Some recommendations may not suit every filmmaker, and that is worth acknowledging. Testing a Camera Stabilizer with your actual camera and lens remains the most trustworthy evaluation. A short trial can reveal balance problems that specifications never show.
Understand the Types of Camera Stabilizers
How to Choose the Right Camera Stabilizer?
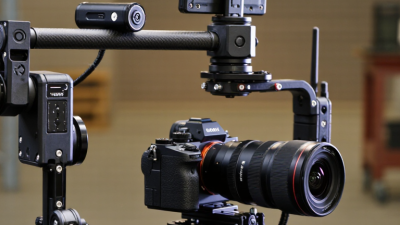
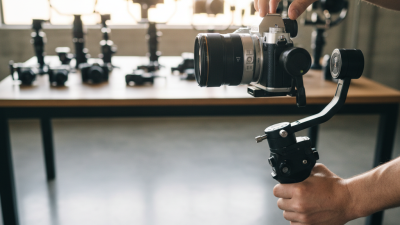
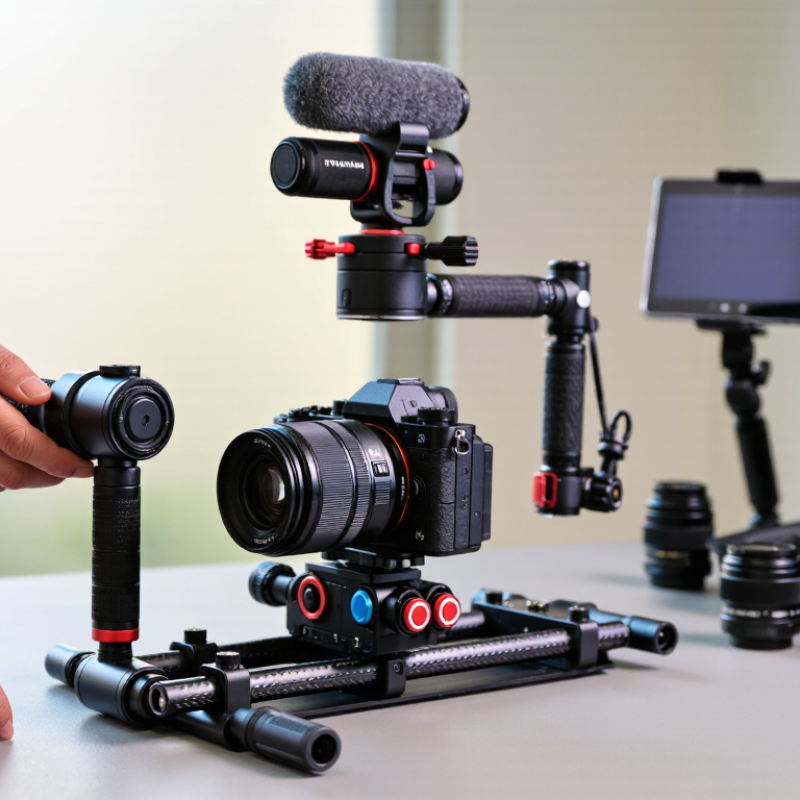
Camera stabilizers come in several forms, and each suits a different shooting situation. A handheld stabilizer is lightweight and useful for quick movement. It reduces small shakes without adding much setup time. A shoulder rig supports longer recording sessions and keeps the camera close to your body. It works well for interviews, events, and documentary footage. A three-axis gimbal creates smooth walking shots by using electronic motors. However, it needs battery power, balancing, and careful handling. A tripod offers the strongest stability, but it limits movement and framing changes.
Think about your camera’s weight, lens length, and filming environment. A heavier setup may overload a small stabilizer. Check the stated payload, then leave room for accessories such as a microphone or monitor. During a street shoot, I found that a gimbal improved movement but slowed down fast reactions. I also balanced it poorly once, which caused drifting horizons. That mistake taught me to test every setup before recording. Stabilizer choice depends on movement, not appearance.
Tips: Walk with bent knees. Keep your elbows relaxed. Balance the camera before powering a gimbal. Test horizon stability for one minute. Carry spare batteries for electronic models. If fatigue appears, shorten the shot instead of forcing smooth movement. Simpler equipment can sometimes produce more dependable footage.
Match the Stabilizer to Your Camera and Lens
A stabilizer should match the complete camera setup, not just the camera body. Add the lens, battery, memory card, monitor, microphone, and any filter before checking payload capacity. A setup that looks light on paper may become difficult after accessories are attached. The stabilizer must support the weight comfortably, with enough motor strength for smooth movement.
Lens size and balance matter just as much. A long zoom lens can shift the center of gravity forward, even when the total weight remains acceptable. A compact prime lens usually balances faster and responds more naturally during walking shots. Wide lenses often hide small movements, while telephoto lenses reveal every footstep and hand adjustment. Check the stabilizer’s adjustment range before buying. Some camera cages or long lenses may leave too little space for proper balancing.
I once tested a camera with a nearly full battery and an added filter. The setup balanced poorly, although it seemed fine during a quick indoor test. That mistake reminded me to test real shooting conditions. Attach the exact lens and accessories, then tilt the camera forward, backward, and sideways. If the motors become warm or noisy, the setup may be too heavy or poorly balanced. A stronger stabilizer is not always better; excess size can reduce comfort and make low-angle movements awkward. Small compromises remain, and they deserve honest testing.
Evaluate Payload, Balance, and Stabilization Performance
How to Choose the Right Camera Stabilizer?
Evaluate Payload, Balance, and Stabilization Performance
Payload is the first practical filter. CIPA’s 2024 Digital Camera Shipment Statistics recorded about 8.5 million digital cameras shipped worldwide. That variety makes one universal stabilizer unrealistic. Weigh the camera, lens, battery, monitor, microphone, and cable together. A 1.2-kilogram camera, 0.8-kilogram lens, and 0.15-kilogram microphone already create a 2.15-kilogram load. Leave roughly 20–30% capacity overhead for reliable motor control. That is a field guideline, not a law.
Balance matters more than advertised capacity. Mount the camera, then slide it until it stays level without motor assistance. Check front-to-back and side-to-side movement. The center of gravity should remain close to the tilt axis. Poor balance causes heat, battery drain, and small horizon errors. I once tested a technically powerful stabilizer with an unbalanced rig. It performed worse than a lighter setup. The specification sheet did not reveal that weakness.
Stabilization performance needs real movement tests. Grand View Research’s 2024 market analysis expects continued growth in stabilizer demand through 2030, but market growth cannot measure usable footage. Walk slowly, climb stairs, and perform a controlled pan. Inspect the horizon at the beginning and end. Listen for motor noise near dialogue. Test with your heaviest lens. Short clips can look convincing. Longer takes expose drift. Even careful testing can miss problems. That is why payload, balance, and footage review should be evaluated together.
How to Choose the Right Camera Stabilizer?
Compare typical stabilizer classes by payload capacity, average balancing time, and stabilization performance. Choose a model that supports your complete camera setup with additional payload headroom.
Evaluation guide: Payload capacity should exceed the combined weight of the camera, lens, battery, and accessories. Shorter balancing time improves workflow efficiency, while a higher stabilization score indicates smoother movement during walking and panning shots.
Choose the Best Stabilizer for Your Shooting Needs
Choosing the right camera stabilizer starts with your shooting needs, not a specification sheet. For handheld interviews, a compact gimbal can reduce wrist fatigue during long takes. Run-and-gun work may favor quick balance adjustments and a comfortable grip. Large cinema cameras need stronger support, but extra weight can slow a small crew. Test the full setup.
Tips:
Mount your actual camera, lens, battery, and microphone before testing. Balance each axis carefully. Walk, pan, and stop suddenly. Watch for drifting horizons, motor noise, and delayed movement. Check operating time in realistic conditions, not only in a quiet room. Measure packed size too.
From field testing, the best stabilizer feels predictable rather than impressive. Controls should respond gently when you follow a speaker through a doorway. If footage still looks tense, your walking technique may need work. I have sometimes blamed the stabilizer too quickly. A short practice session often fixes uneven steps better than a heavier device. Still, no model solves every shot. Rain, stairs, and crowded rooms expose weak choices fast. Choose the tool you can carry, balance, and operate without hesitation.