How to Choose the Best Panoramic Camera Stand?
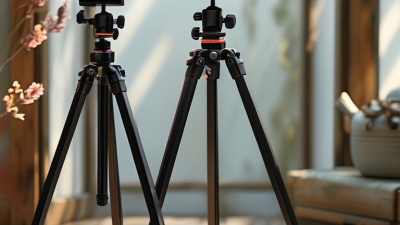
Choosing the best Panoramic Camera Stand is not only about finding the tallest model. It is about matching stability, camera weight, shooting style, and working conditions. A compact stand may suit indoor tours, while outdoor landscape projects often require a broader base and stronger materials. Small differences matter. A loose adjustment knob can disturb a carefully aligned panorama.
A reliable evaluation should examine load capacity, mounting compatibility, height range, leveling controls, and folded size. The stand should support the camera without unwanted vibration. Aluminum models are usually portable, while heavier designs may perform better in windy locations. Check the tripod head, screw thread, locking system, and center of gravity before purchase. These details are easy to overlook.
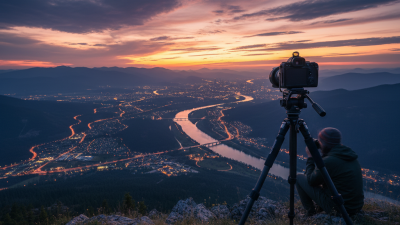
Practical use also reveals weaknesses that product descriptions may hide. A stand can appear stable on a smooth studio floor but shift on gravel or wet grass. I would test each locking point with the camera attached, then observe movement through the viewfinder. This simple check is useful. However, no stand performs perfectly in every environment. Even a premium model may feel inconvenient during long hikes or crowded events. The best choice depends on your priorities, budget, and tolerance for setup time. Careful comparison, honest testing, and realistic expectations lead to more consistent panoramic images.
Define Your Panoramic Photography Requirements
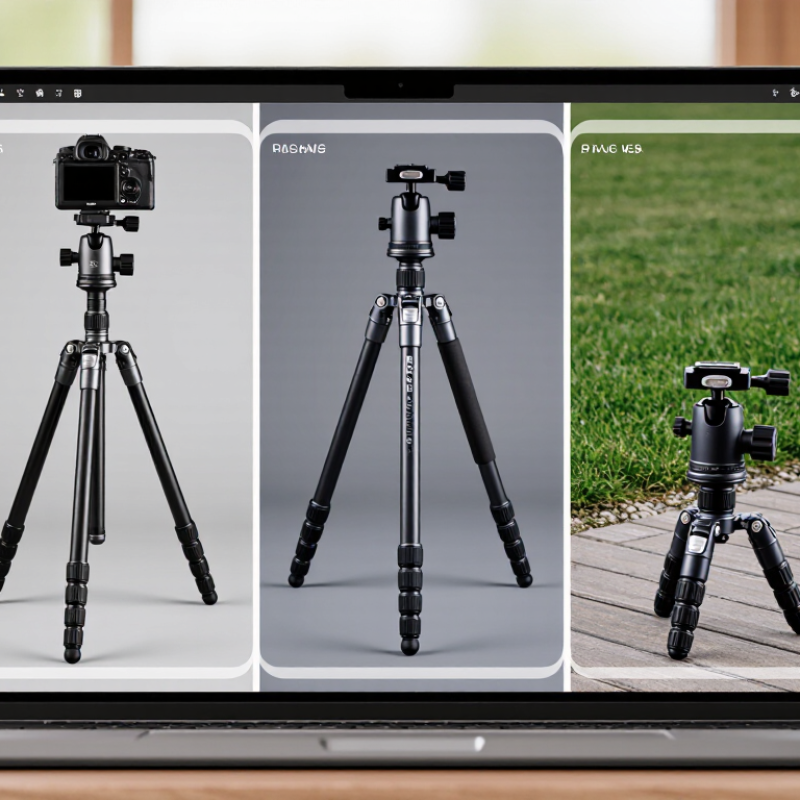
Before choosing a panoramic camera stand, define how you actually photograph. A lightweight travel setup needs different support from a heavy camera with a wide lens. Record your camera body, lens, battery, and accessories, then add a safety margin. Stability matters more than advertised load capacity.
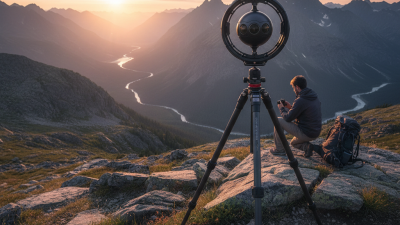
Identify your panoramic method. Do you rotate around the lens’s nodal point, or capture scenes with a fixed camera position? A precise panoramic head helps reduce stitching errors, especially near fences, railings, and close subjects. Check the required rotation intervals, adjustment range, and locking strength. A built-in leveling base can save time on uneven ground. It is a small feature, but it prevents crooked horizons.
Tips: Test the stand with your real equipment before outdoor work. Place it on a tiled floor, rotate through several angles, and inspect overlapping frames. If the setup shifts, the problem may be the tripod, not the camera head. I once trusted a strong-looking stand and ignored its loose locking knob. The resulting images stitched poorly. That mistake changed my checklist. Consider weight, folded length, setup speed, and wind resistance. A compact stand is convenient, but convenience can become frustration when vibrations appear. Measure your usual locations honestly. Indoor rooms, rocky viewpoints, and crowded streets each demand different support. Do not choose from specifications alone. Your shooting habits are the real requirements.
Compare Stand Types, Materials, and Structural Stability
How to Choose the Best Panoramic Camera Stand?
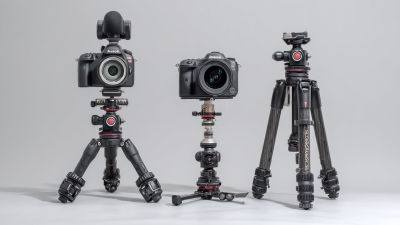
Stand types affect both image quality and working speed. A fixed tripod suits studio panoramas, while a wheeled stand supports frequent repositioning on smooth floors. A monopod is lighter, but it transfers every hand movement into the camera. For outdoor work, a three-leg tripod with adjustable feet offers better control on gravel or uneven pavement. Keep the camera’s center of gravity directly above the leg intersection. Small offsets become visible in stitched images.
Materials also change handling. Aluminum stands are affordable, rigid, and less delicate around transport cases. The U.S. Geological Survey’s Mineral Commodity Summaries 2024 reported about 70 million metric tons of primary aluminum production in 2023, showing its broad industrial availability. Carbon fiber reduces carrying fatigue and dampens some vibration, but thin tubes may flex under a heavy panoramic head. The International Aluminium Institute notes that recycled aluminum requires roughly 5% of the energy used for primary production. Material choice can therefore affect durability and environmental impact.
Structural stability deserves more attention than maximum load claims. Check the load rating of the complete system, not only the legs. A practical test is simple: extend the stand, mount the camera, and watch the horizon for ten seconds after releasing it. Add a low hanging weight when wind or floor vibration is present. ASCE 7-22 provides wind-load principles for evaluating exposure and pressure, even though many camera setups are temporary. I still find ratings imperfect; manufacturers may test ideal conditions, while real floors are rarely ideal.
How to Choose the Best Panoramic Camera Stand? - Compare Stand Types, Materials, and Structural Stability
| Stand Type |
Typical Height Range |
Common Materials |
Structural Stability |
Portability |
Best Use |
Key Considerations |
| Tripod Stand |
0.5–2.0 m |
Aluminum alloy, carbon fiber, steel |
Good; improves with wider leg spread and a center brace |
High to moderate |
Travel, outdoor shooting, general panoramic photography |
Check load capacity, leg-lock quality, foot grip, and setup time |
| Light Stand |
0.7–3.0 m |
Aluminum alloy or steel |
Moderate; narrow bases can flex or tip under side loads |
Moderate |
Indoor studio work where height is more important than maximum rigidity |
Use sandbags or ballast for tall setups and avoid uneven surfaces |
| Monopod with Base |
0.6–1.8 m |
Aluminum alloy, carbon fiber |
Low to moderate; requires operator support or a stable base |
Very high |
Fast repositioning, event coverage, and compact travel kits |
Not ideal for long exposures, windy conditions, or unattended cameras |
| C-Stand |
1.0–3.3 m |
Chrome-plated steel or heavy-duty steel |
Very good; heavy construction and wide footprint resist movement |
Low |
Studio panoramas, fixed viewpoints, and heavier camera assemblies |
Heavy to transport; secure sliding legs and counterbalance any offset load |
| Survey-Style Tripod |
0.9–1.8 m |
Wood, aluminum alloy, or reinforced composite |
Excellent; designed for low vibration and precise leveling |
Low to moderate |
High-resolution panoramic imaging and long-duration fixed setups |
Choose a model with a compatible mounting thread and a reliable leveling head |
| Wall or Ceiling Mount |
Fixed position |
Steel, aluminum alloy, or reinforced polymer |
Excellent when correctly anchored to a load-bearing surface |
Very low |
Permanent indoor installations and repeatable viewpoints |
Verify wall strength, anchor type, clearance, and camera service access |
Selection Guide:
Choose a tripod for portability, a steel stand for heavy studio equipment, a survey-style tripod for maximum vibration control, or a fixed mount for permanent and repeatable panoramic viewpoints. Always confirm the stand’s rated load, mounting thread, center-of-gravity position, and stability on the intended surface.